HOLIDAY NOTICE: AUG 27-31. All orders will be shipped on September 3. Enjoy The Holidays, and God Bless.

Unique Recovery Apparel & Gift Produced In-house & On Demand.

Licensed NA Vendor Since 2007

WELCOME & PLEASE KEEP COMING BACK

nawears

bs-Fabric Decals Lot 2

$1.99
Shipping calculated at checkout.

Name

Delivery and Shipping

Except for items with AOP or DTG in the title, all items are produced in-house and shipped within 24 hours of purchase.

NA Iron On Fabric Decals Lot #2

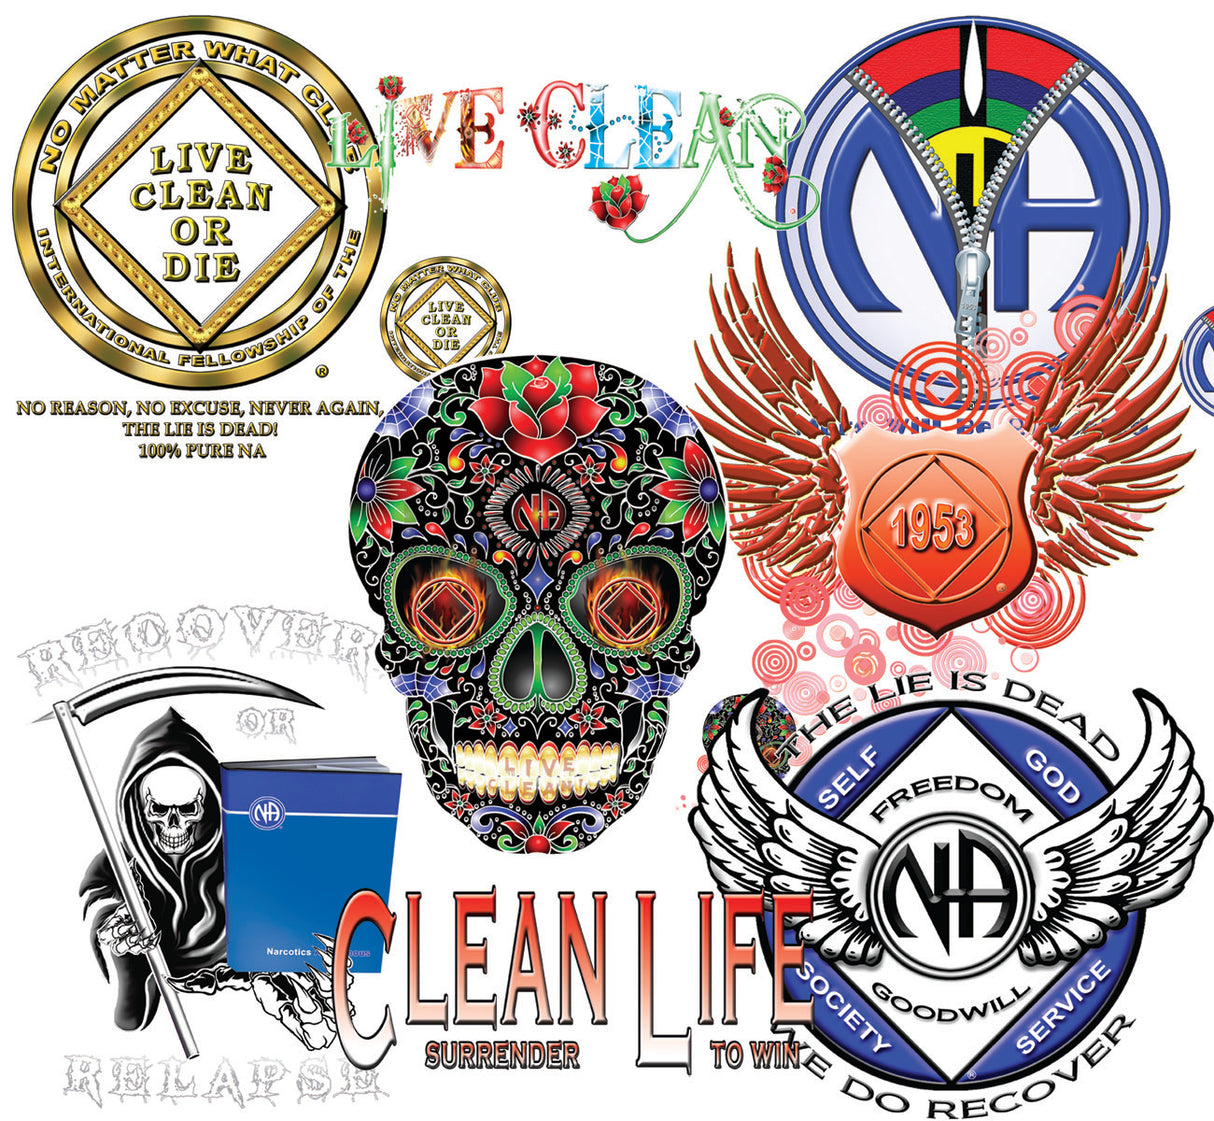
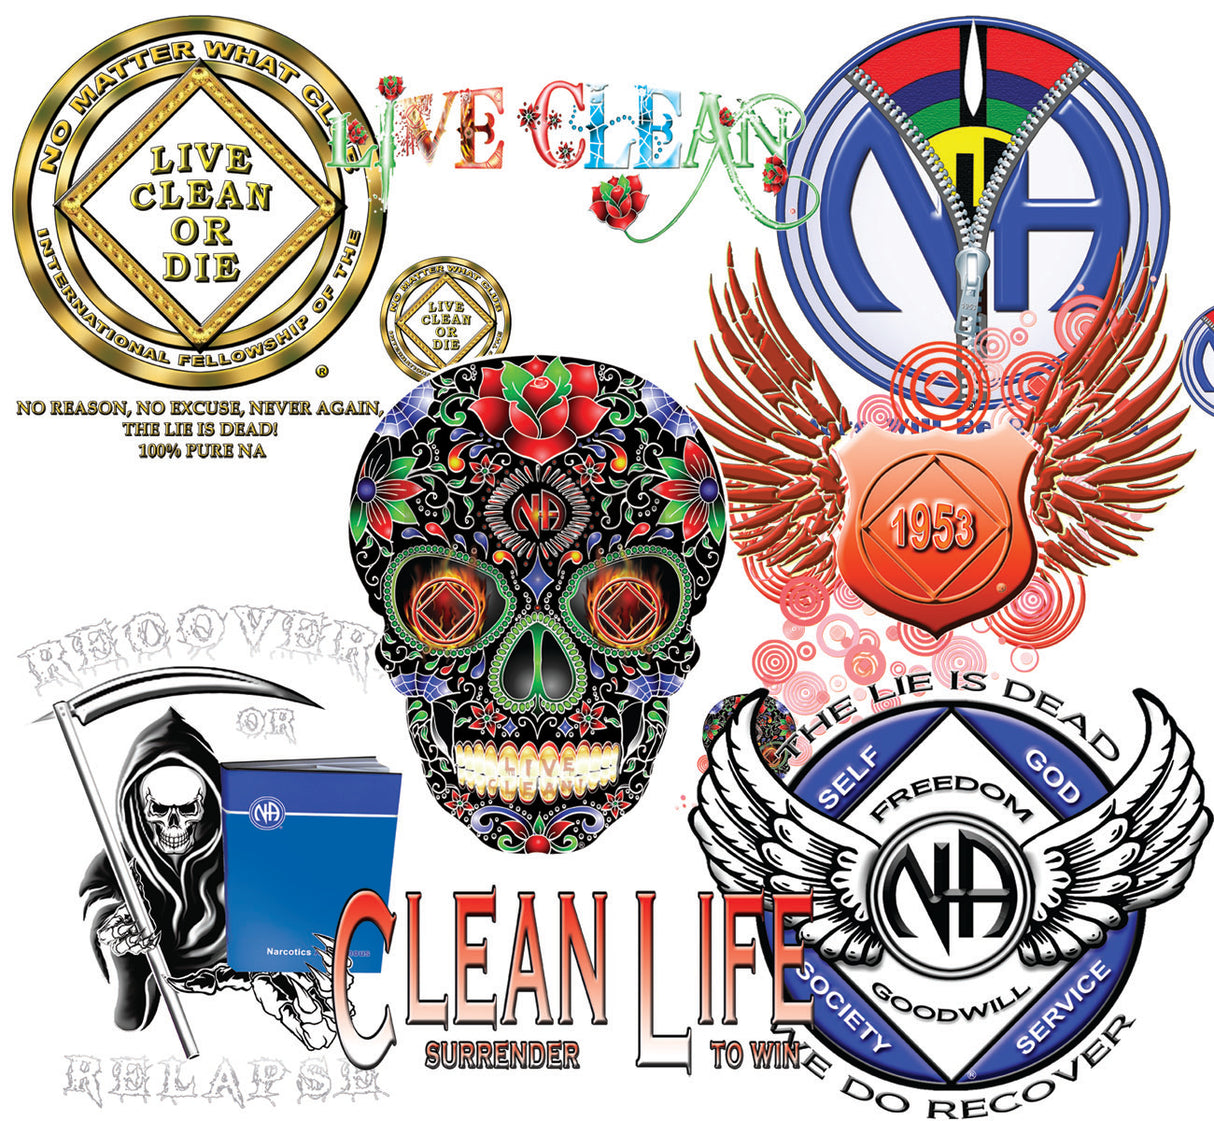
These are all high quality clothing decals we have created for you to use on clothing that you prefer. Select the decal you want and the quantity. Individual decal description below.  Please Contact Us If Quantity Is Zero.

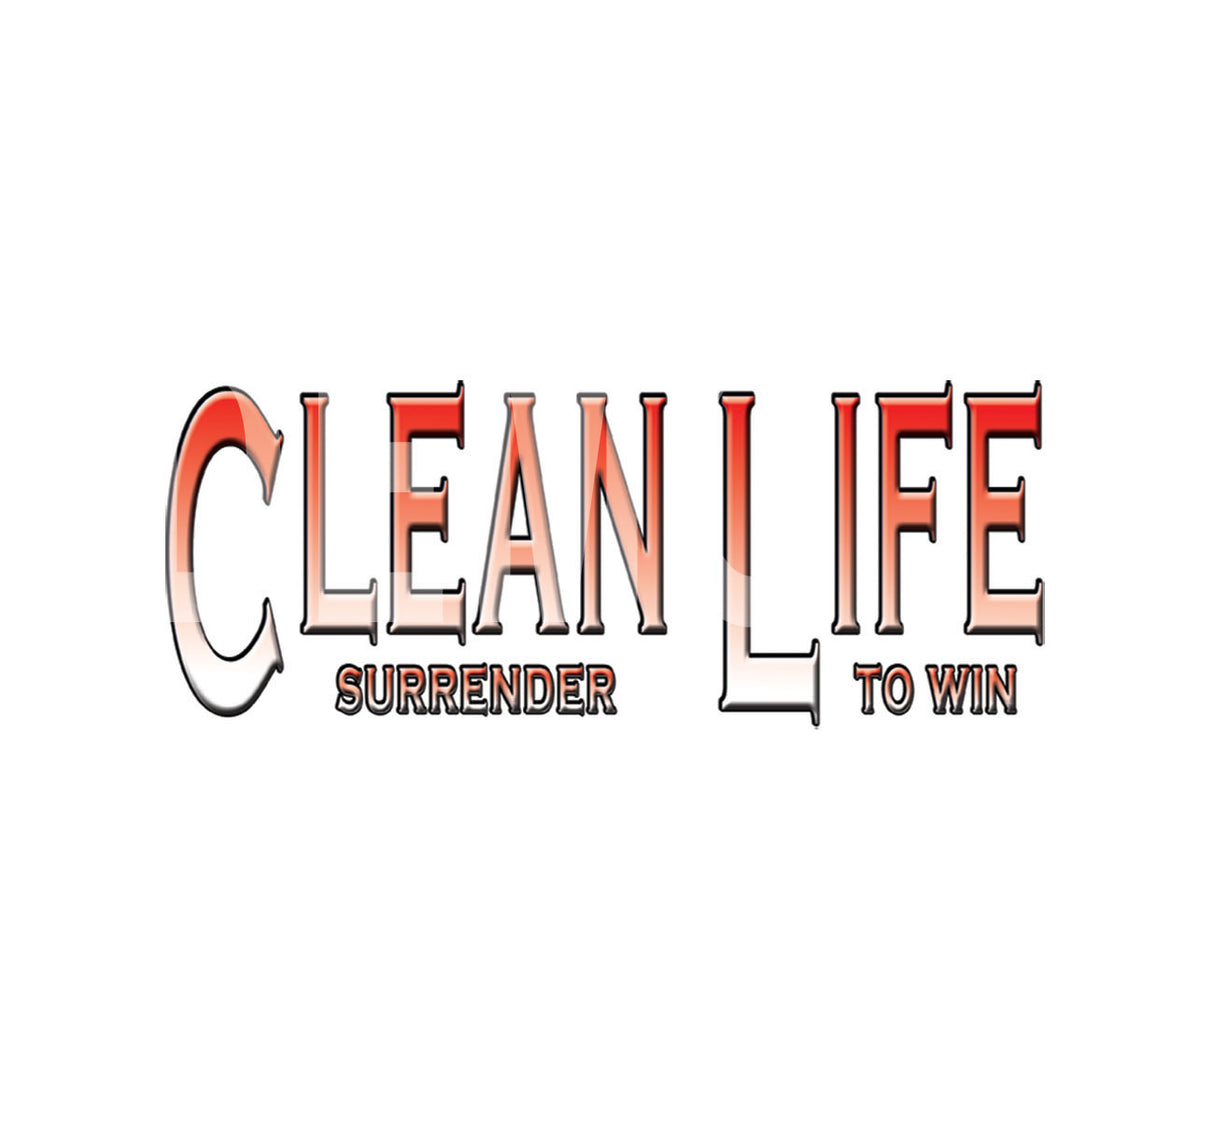
1- Clean Life Red: 10" x 4" 
2- Flying Red Shield: 9.5" x 10.5" -
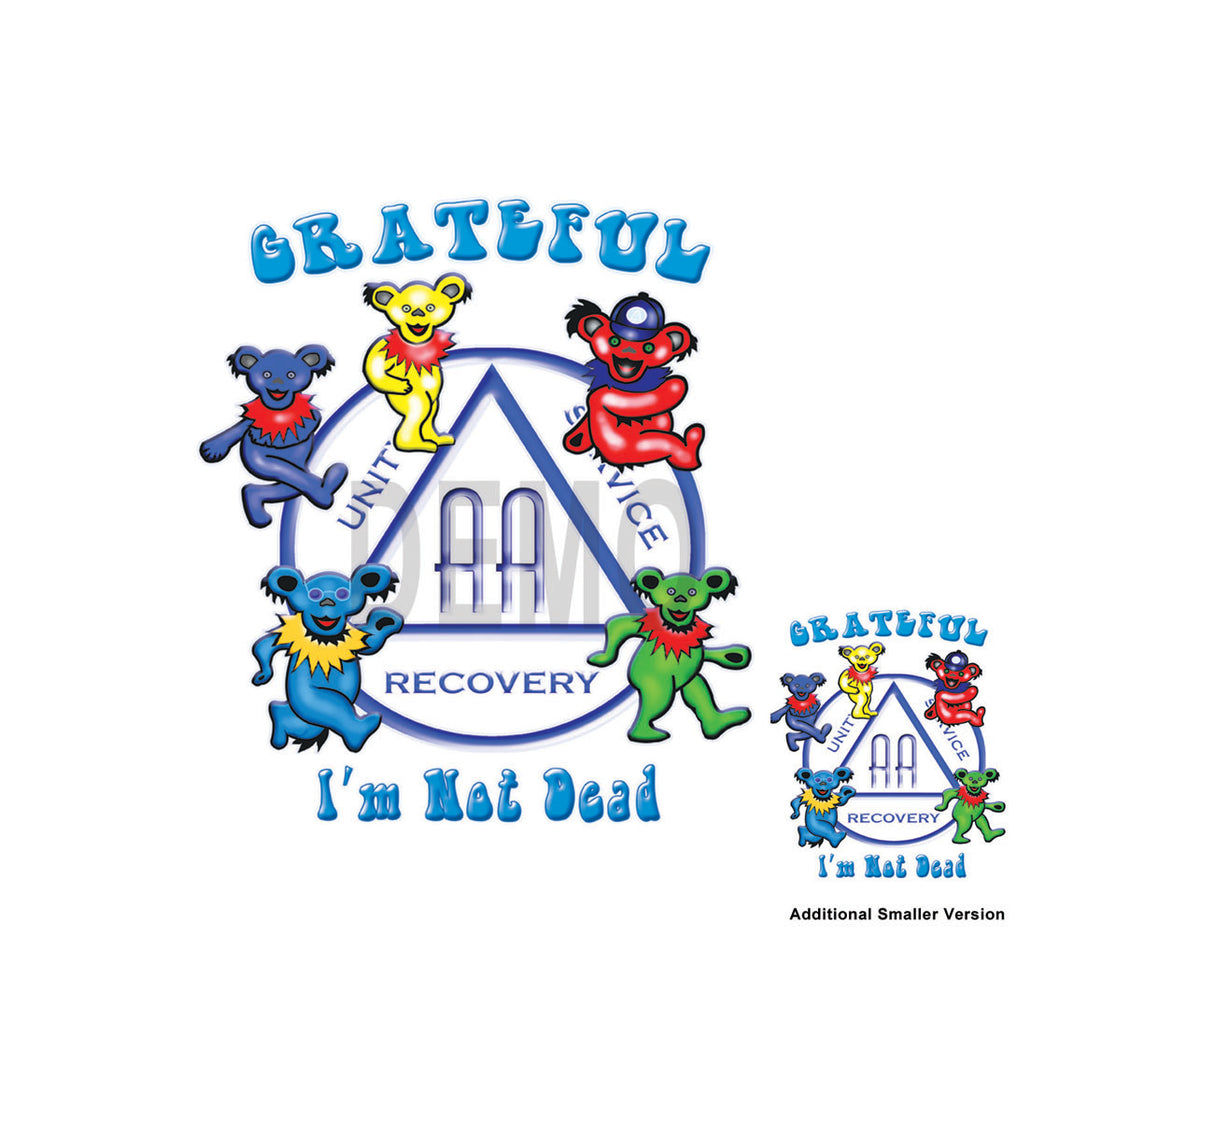
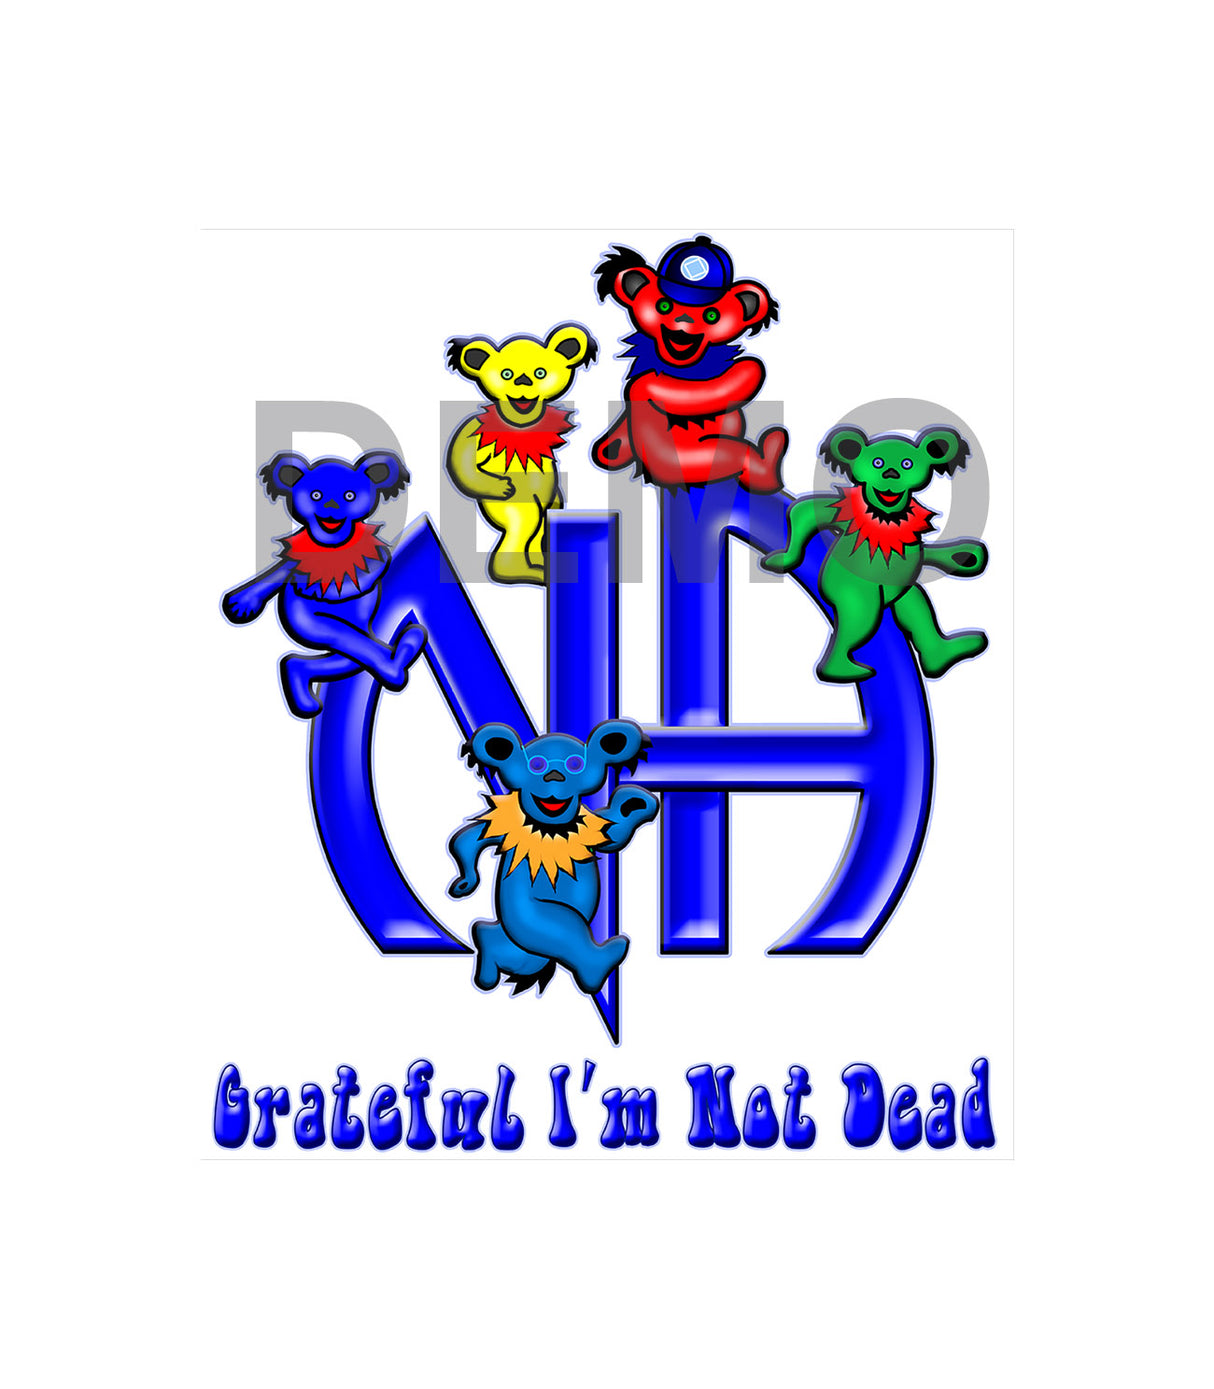
3- AA Grateful Not Dead: 9"  x 10" - With 1 Small images
4-
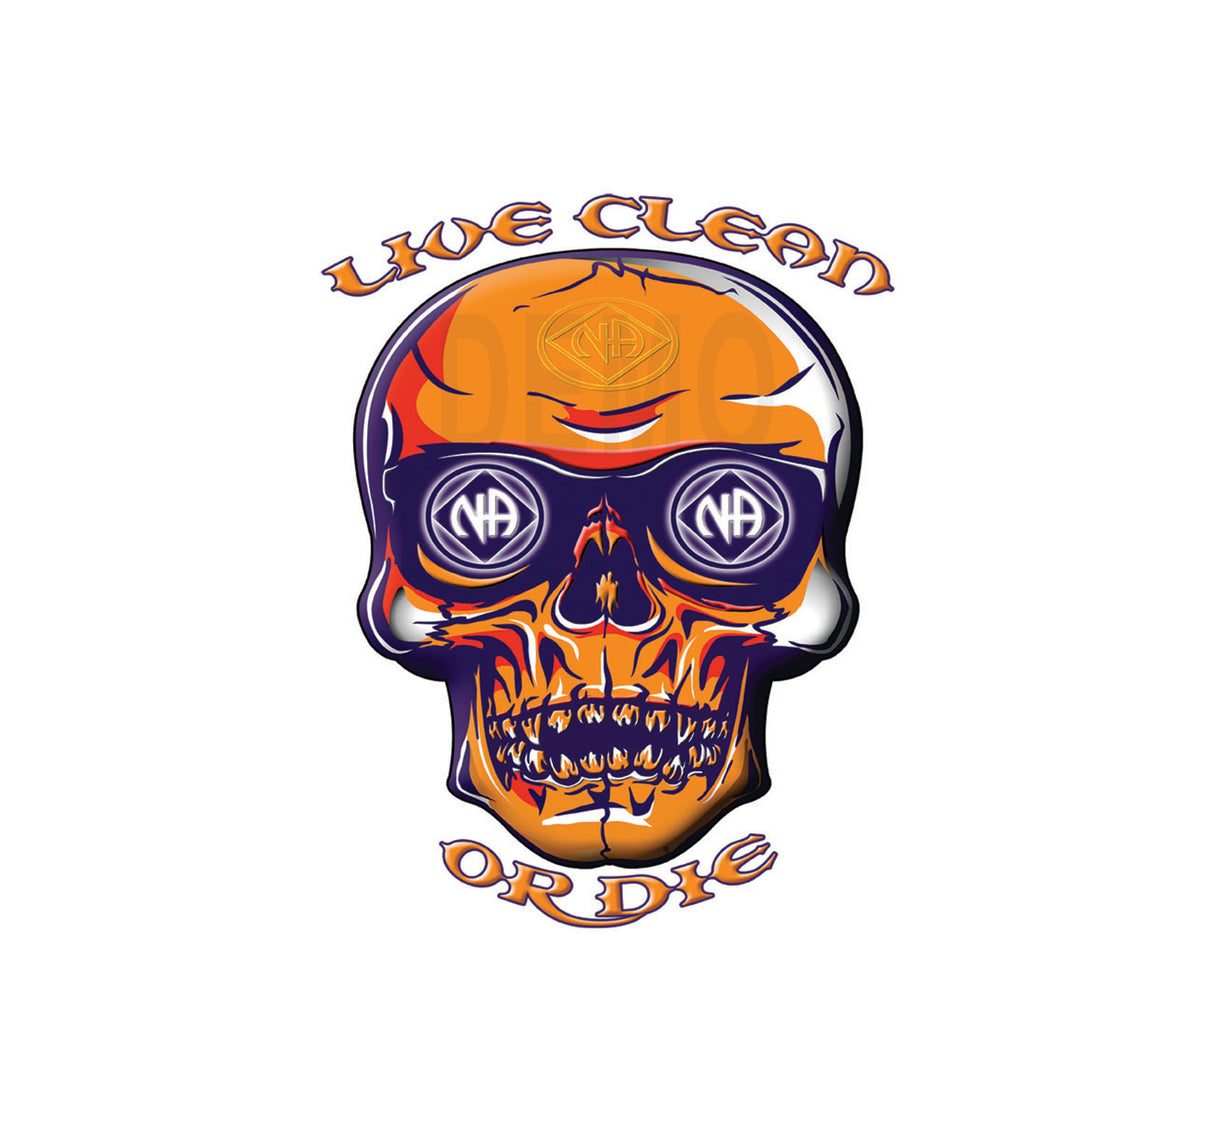
5- Live Clean Or Die Skulls: 9" x  11" -
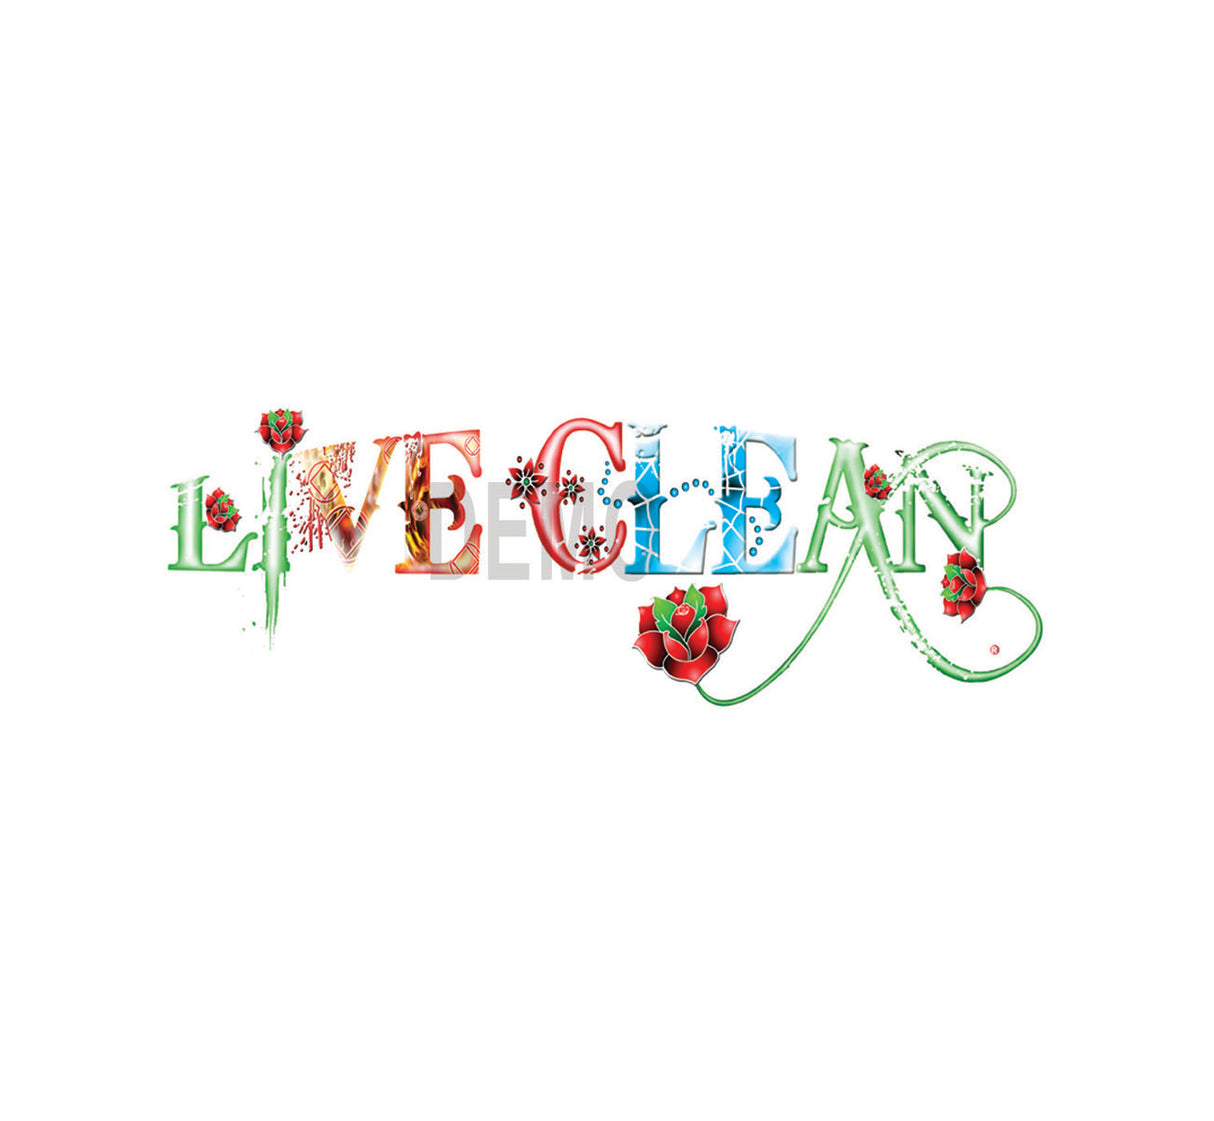
6- Live Clean Sugary: 10" x 3.5" -
7- More Will Be Revealed: 9" x 10" - With 1 Small images
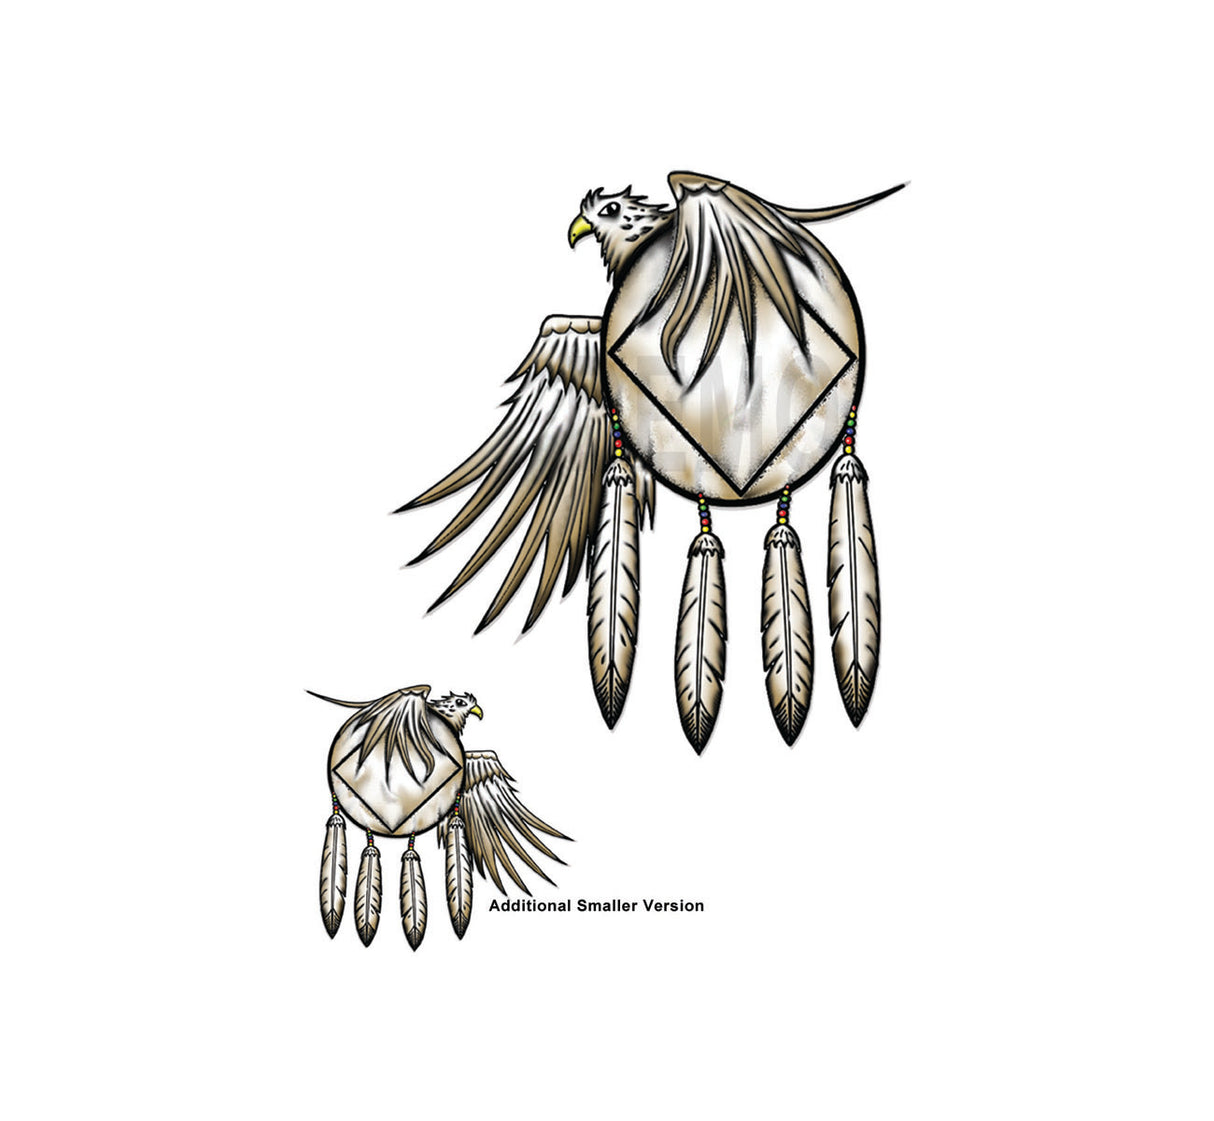
8- Native Eagle Shield: 7" x 8.5"  - With 1 Small images
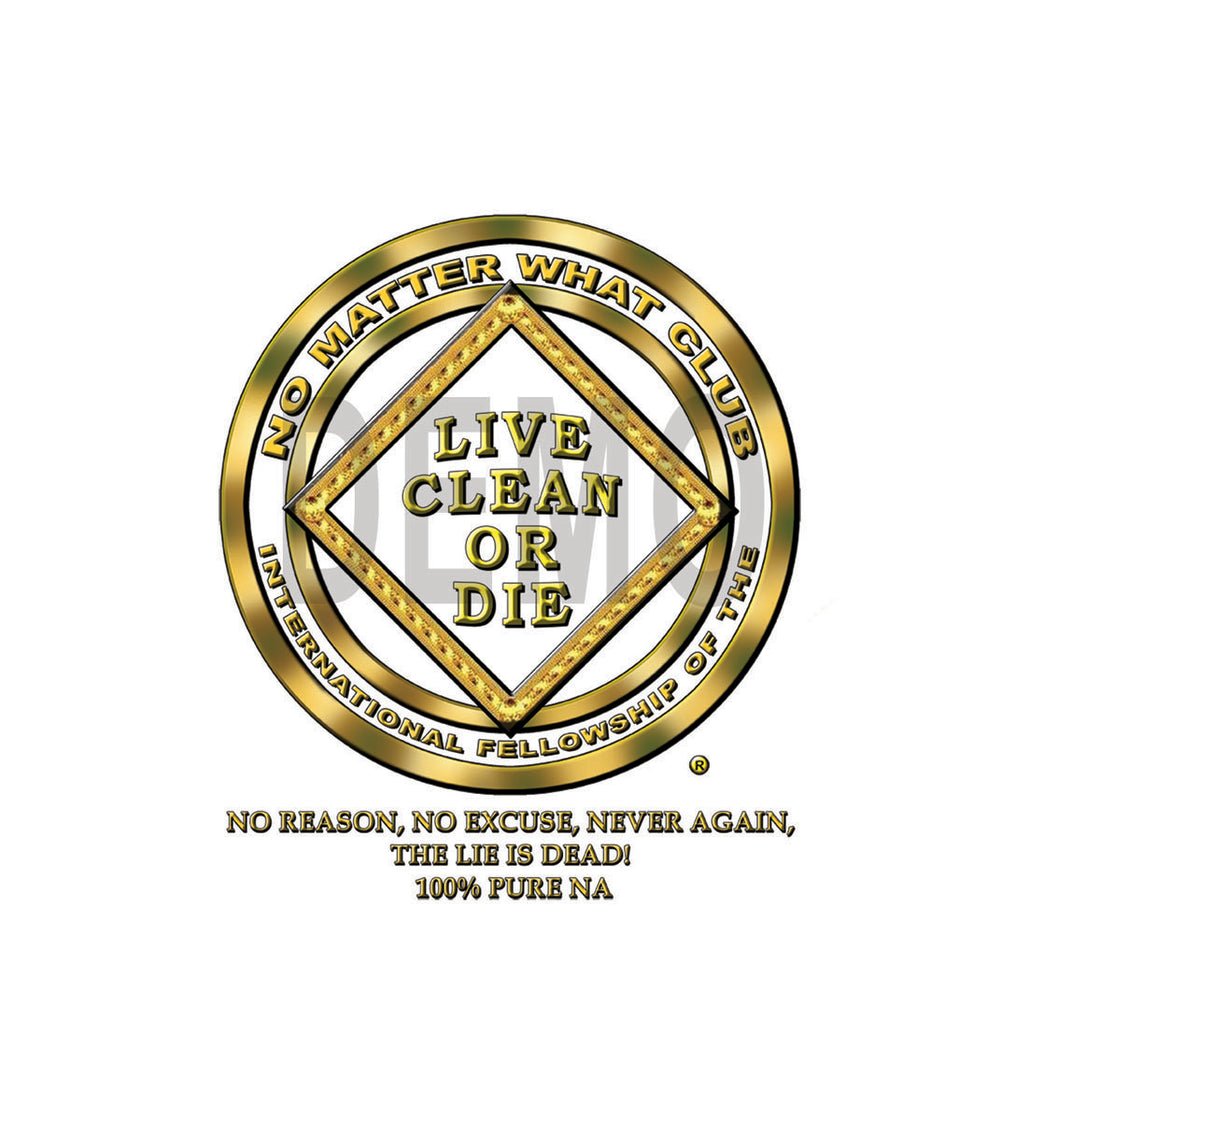
9- No Matter What Club "Gold": 9" x 10.5"  - With 1 Small images
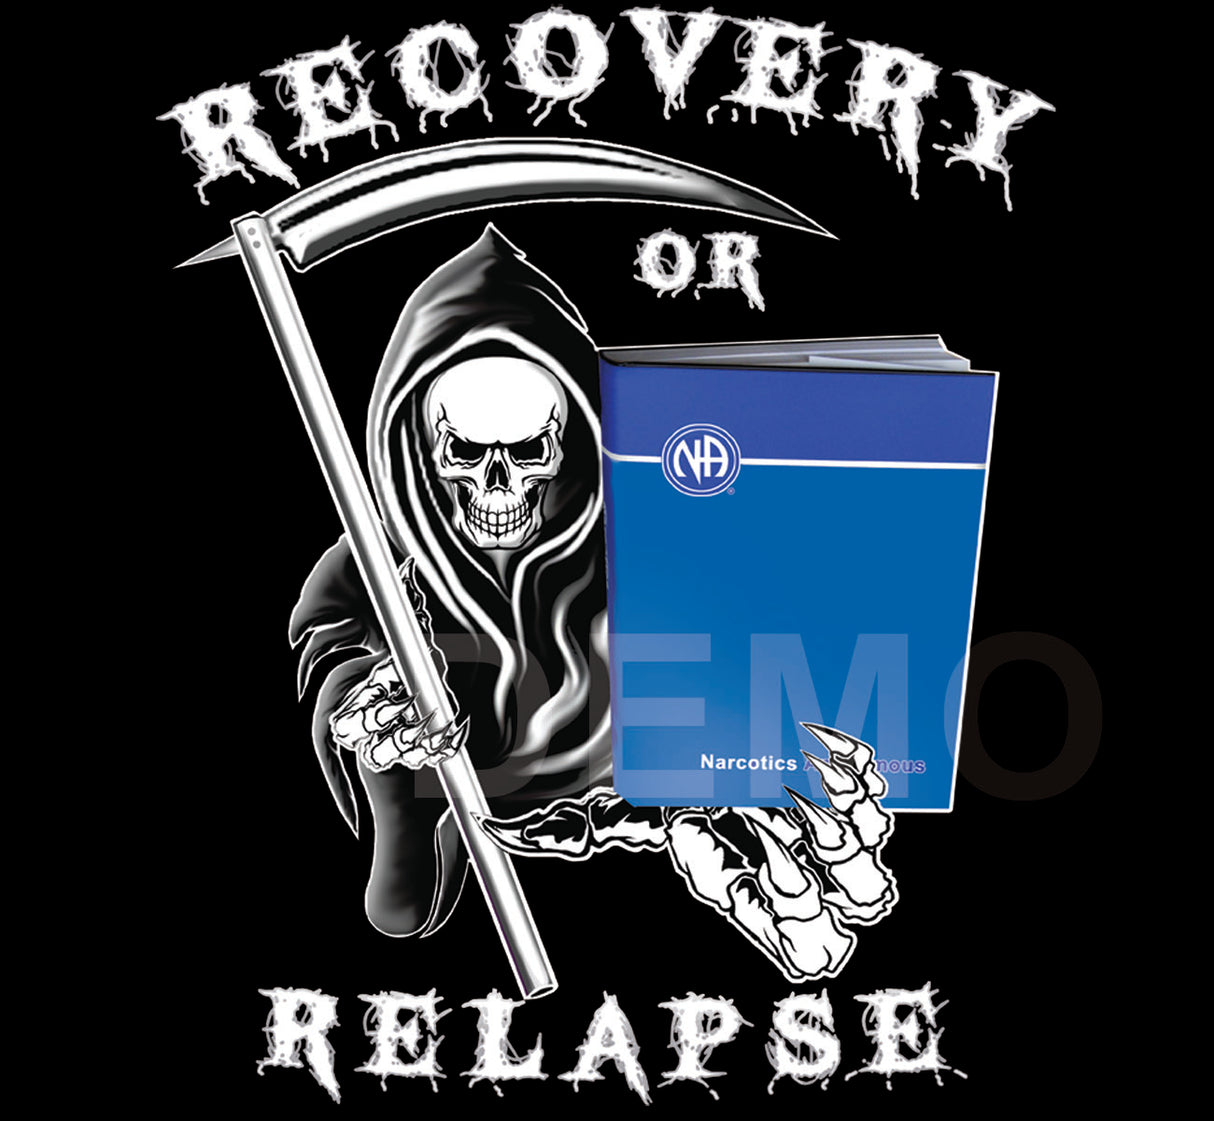
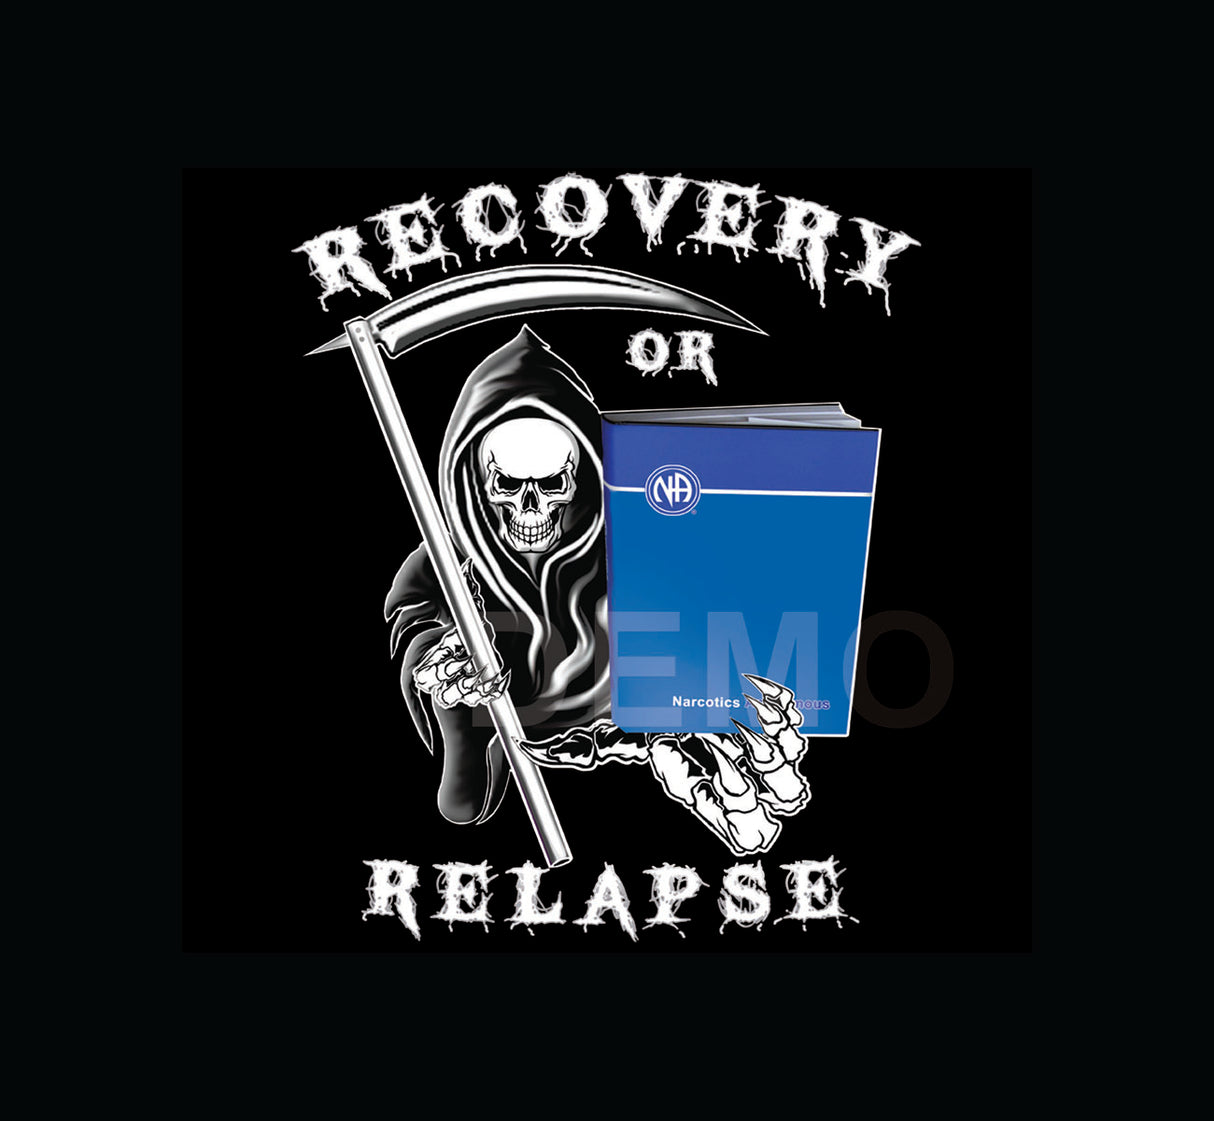
10- Recovery Or Relapse Reaper: 9.5" x 11.5"
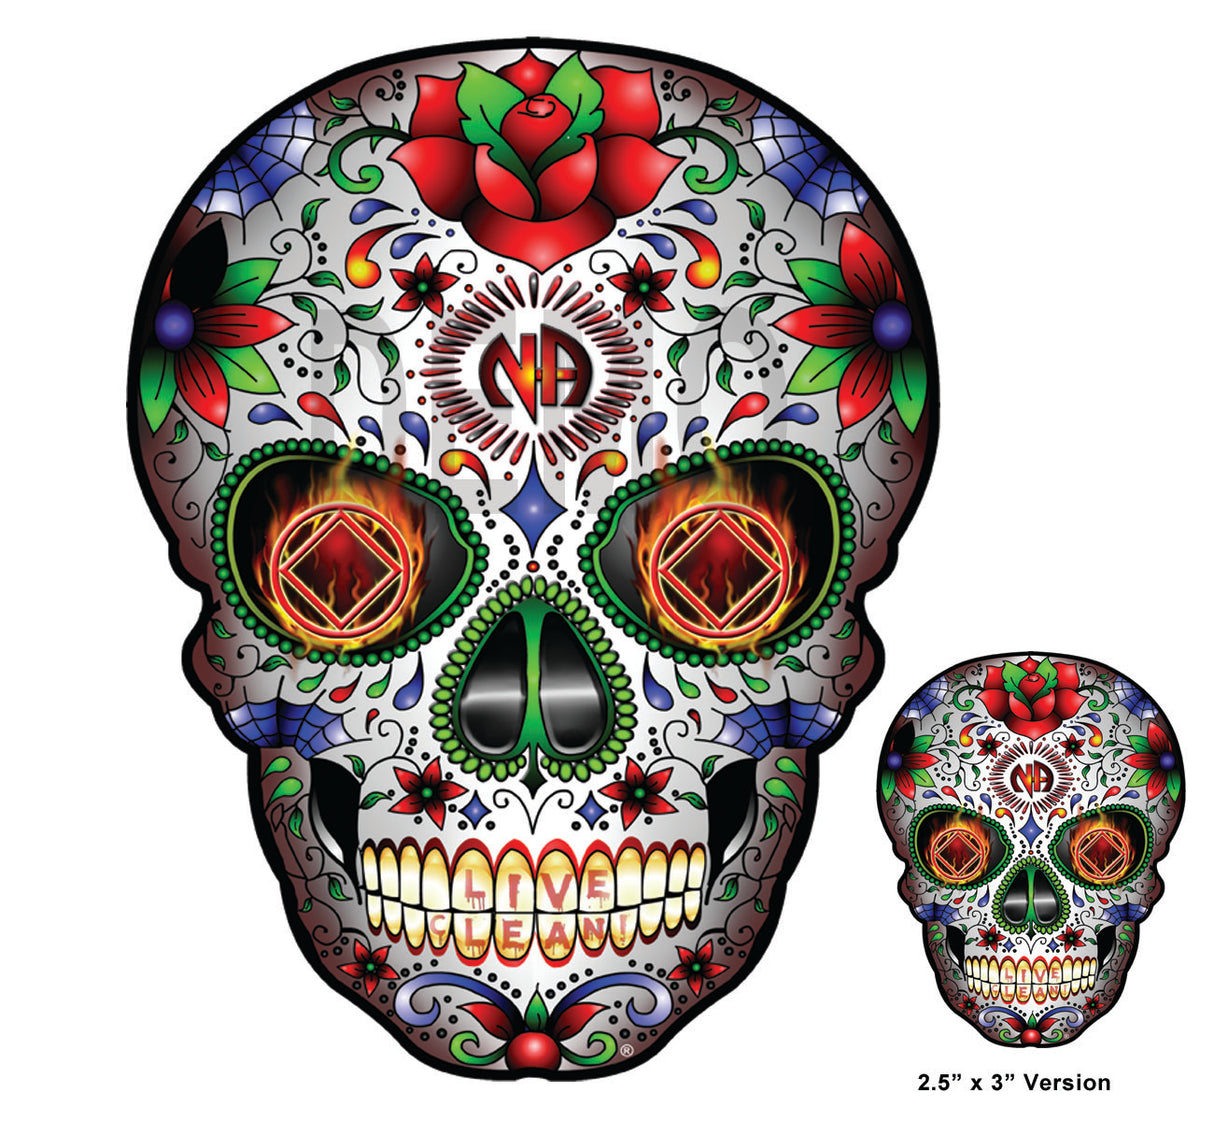
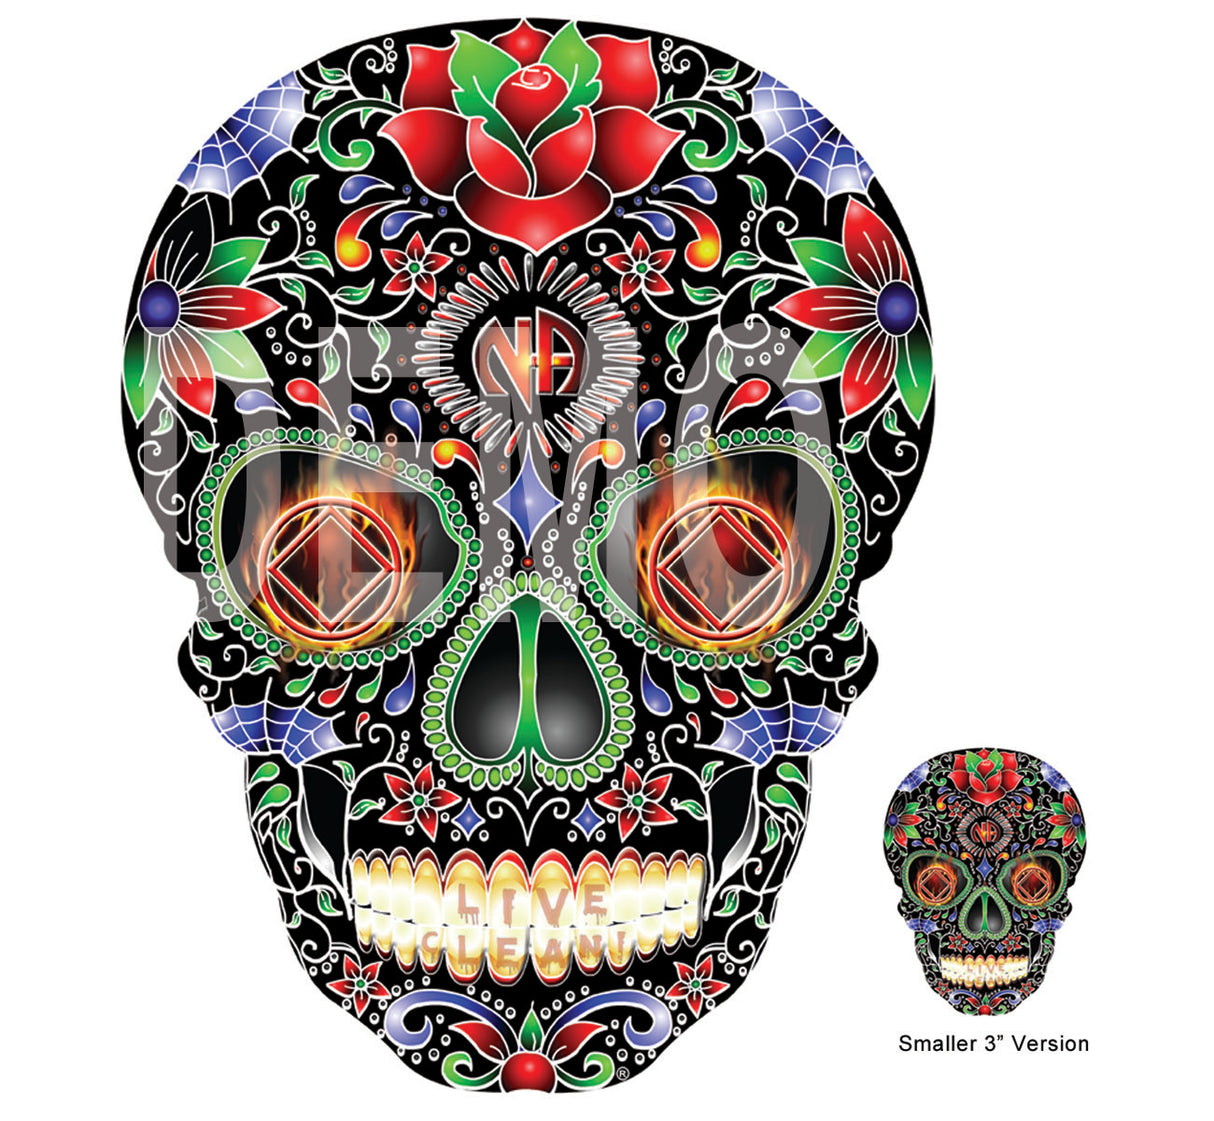
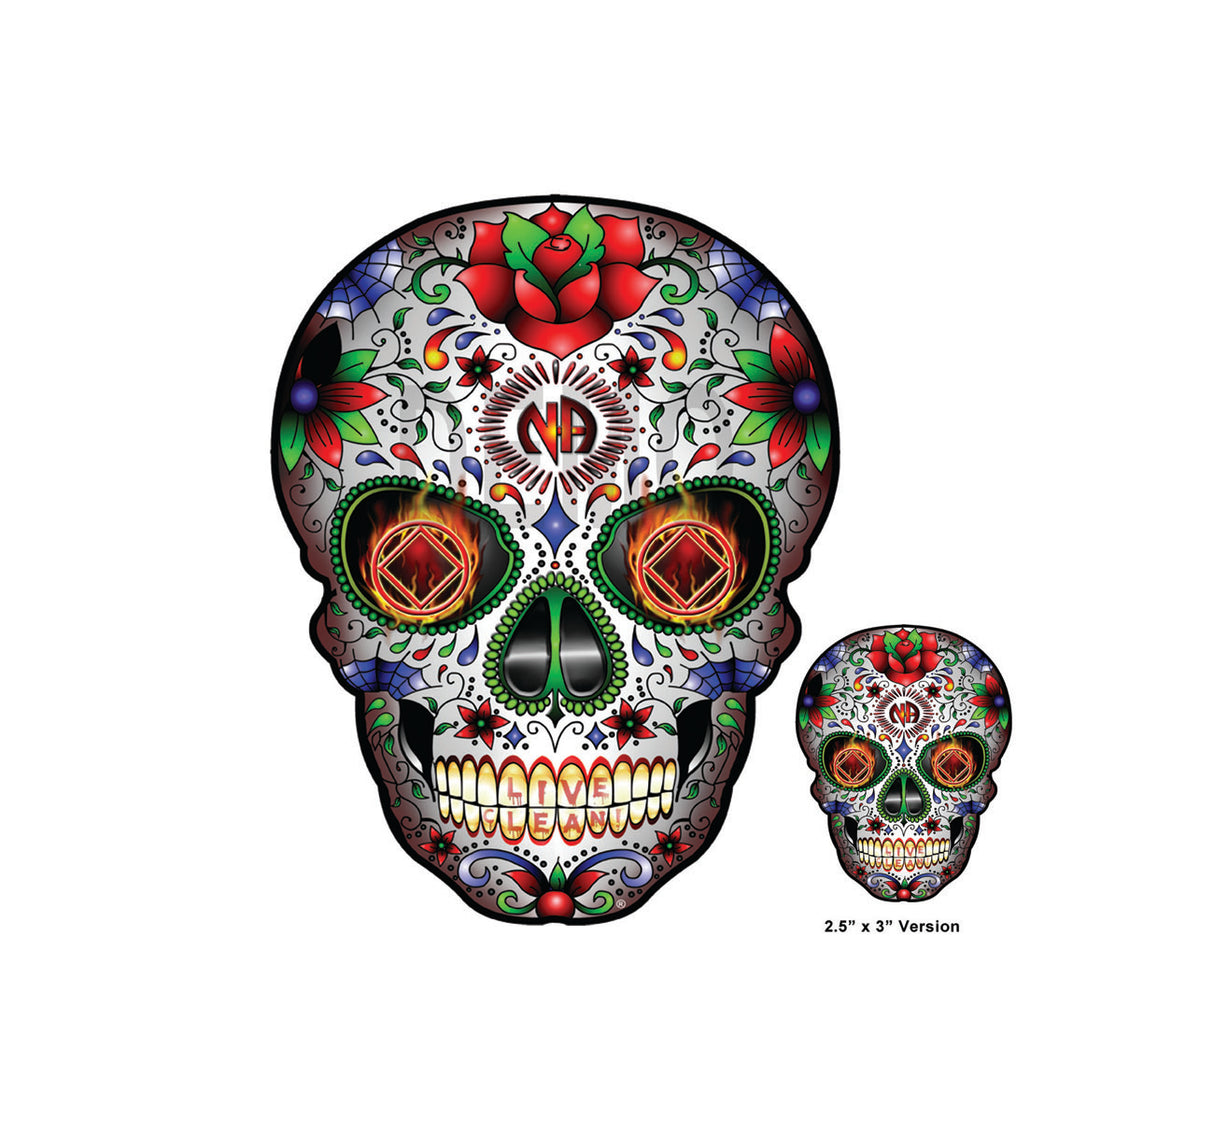
11- Sugar Skull 2020: 9.5" x 11" - With 1 Small images
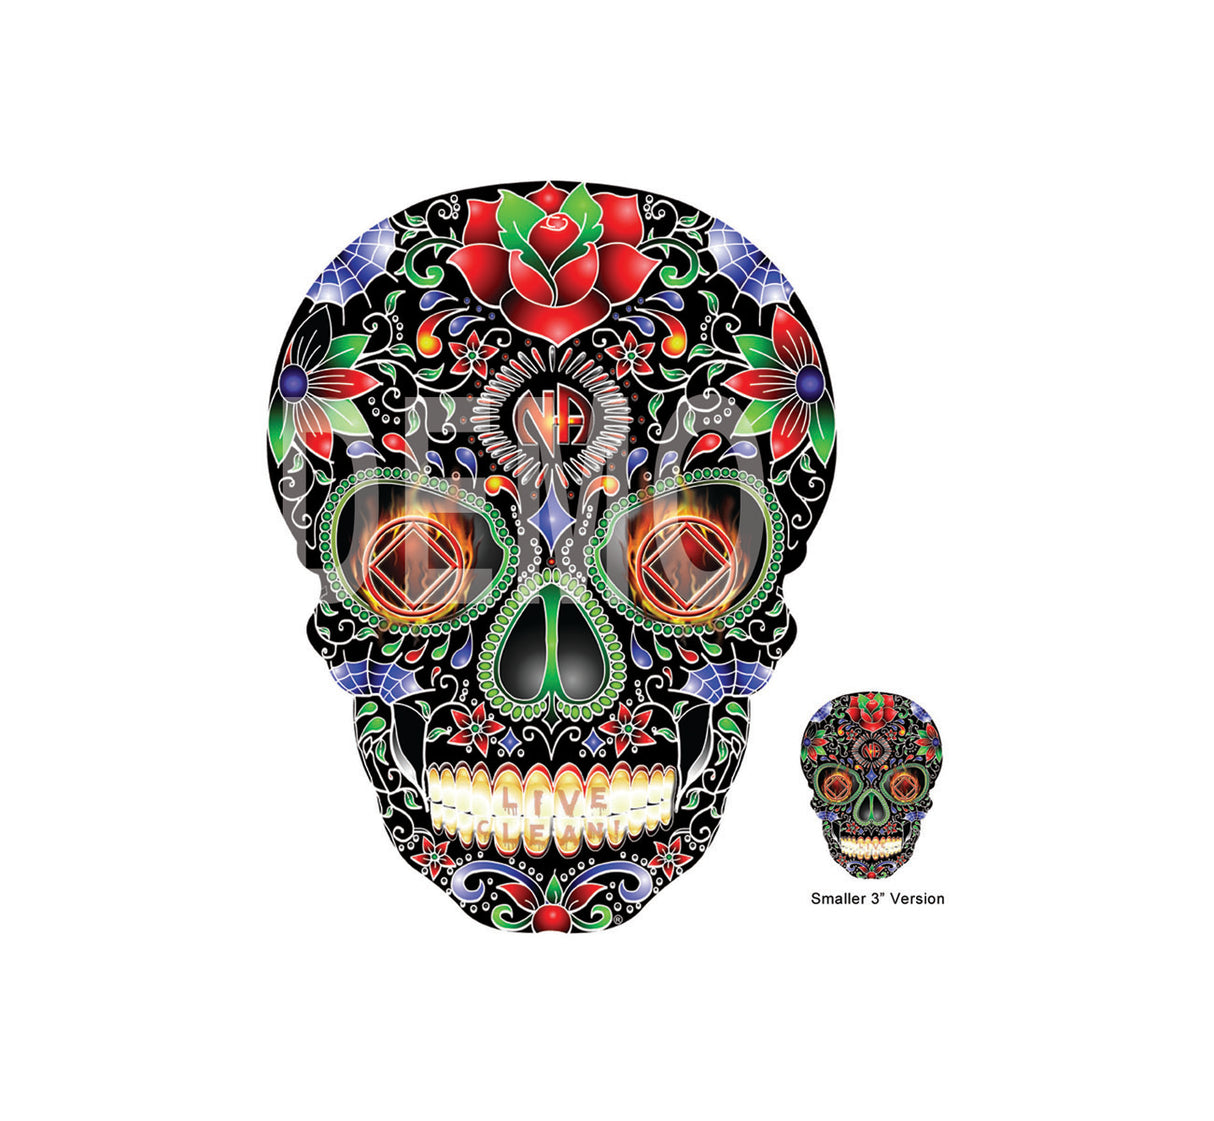
12- Sugar Skull Inverted: 9.5" x 11" - With 1 Small images
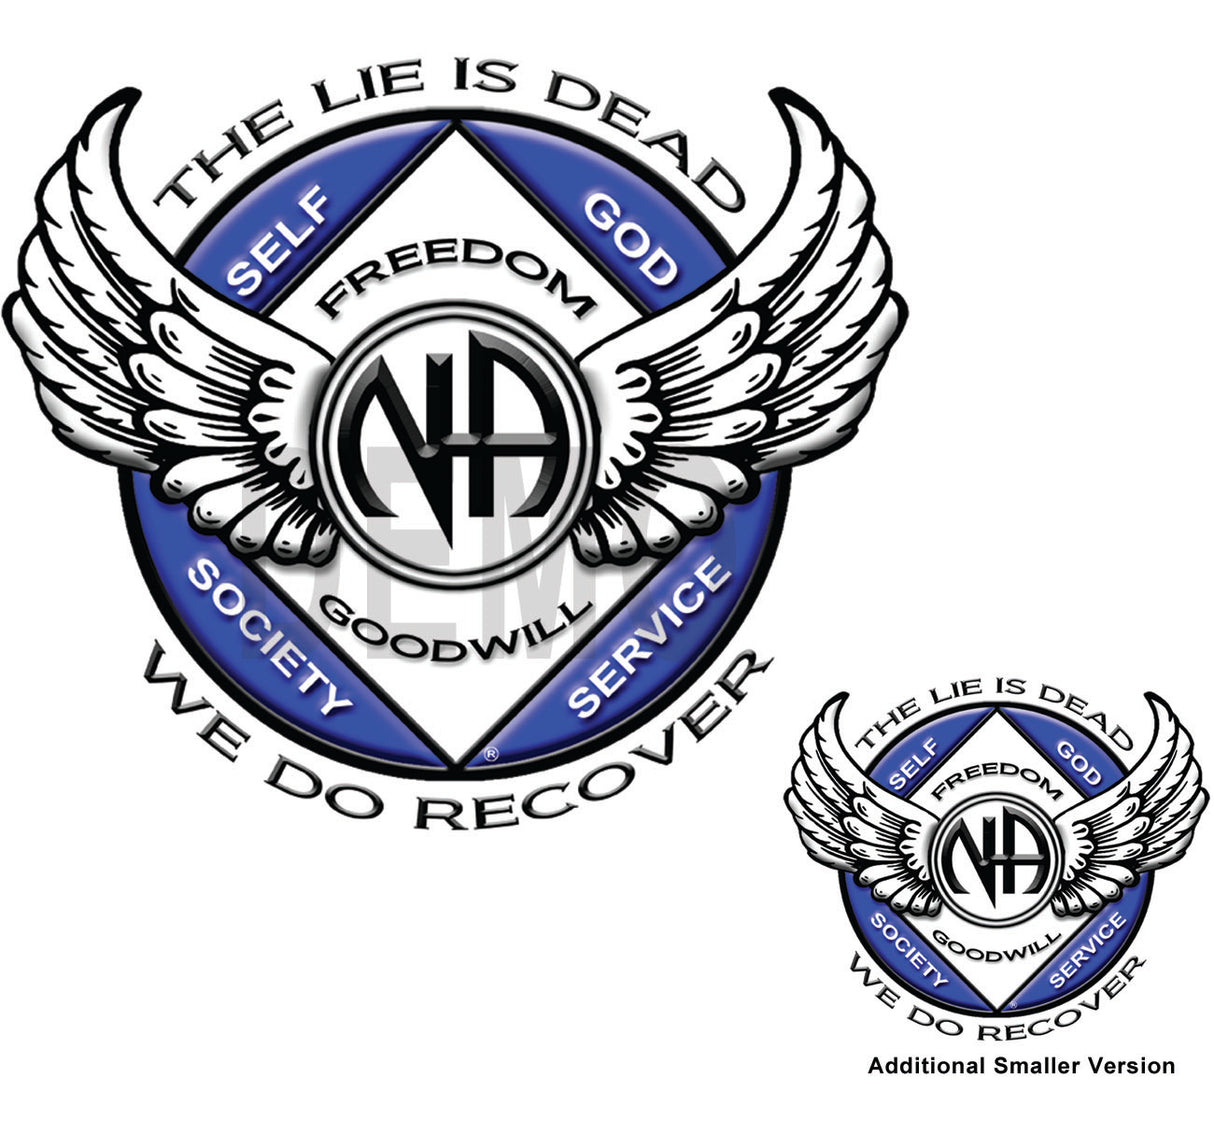
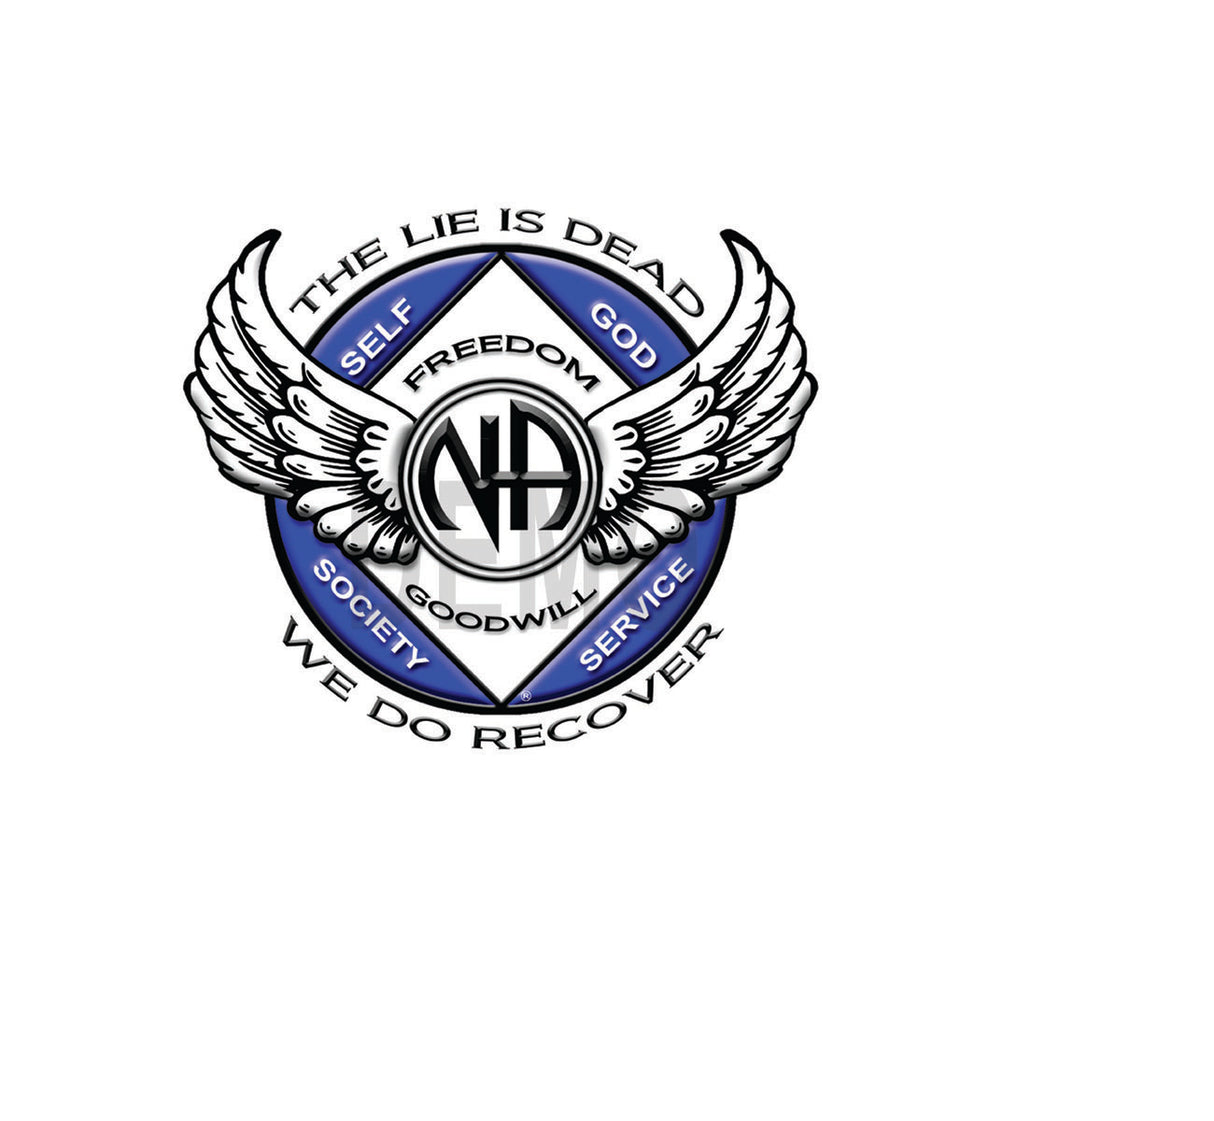
13- Winged NA Symbol: 10" x 8" - With 1 Small images
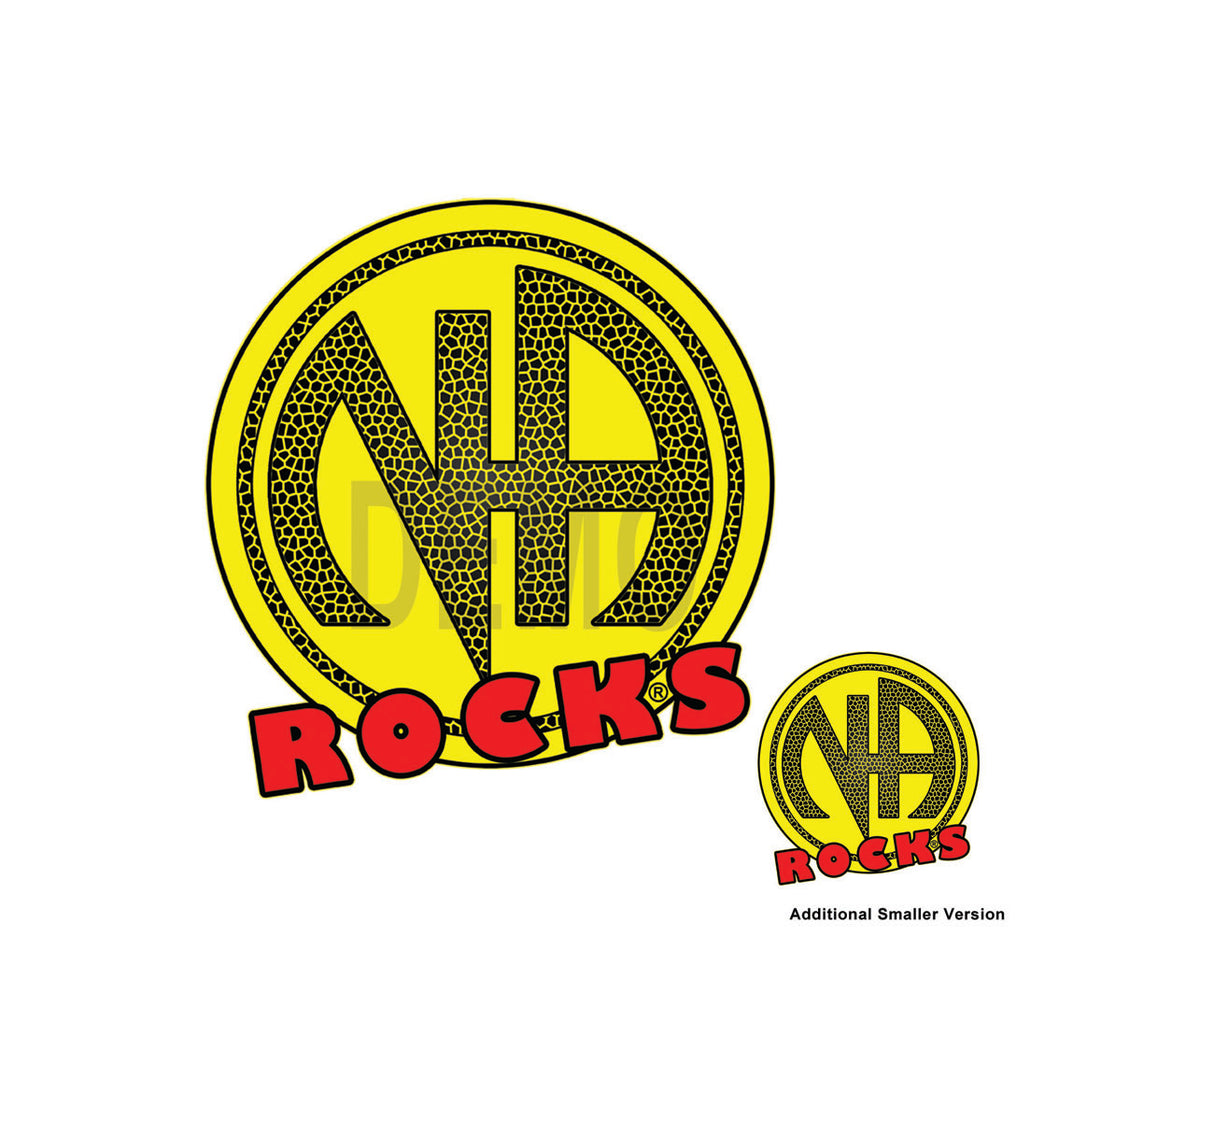
14- NA Rocks: 9" x 9" - With 1 Small images
-
SMALLER IMAGE: The smaller images included with some decal measure roughly 3" x 3". They can be use on the side, back or front corner and put the bigger image on the front. The right placement will add style and variation to the shirt.


 Instructions For Dark Colored Decals:

1- Wash fabric before applying printable iron-on.
2- Peel off unwanted pieces from printed iron-on using the hook found in the Cricut Basic Tool Set.
3- Set iron heat between the COTTON and WOOL settings with steam setting OFF.
4- For 10 to 15 seconds, use the iron to pre-heat the fabric where you will be applying iron-on.
5- Peel backing from transfer tape (included) to expose adhesive. Gently smooth transfer tape onto printed image.
6- Use transfer tape to place an image on fabric. The iron-on material should be against the fabric and transfer tape should be on top.
7- Without removing transfer tape, cover with parchment paper (included).
8- Use both hands to press the iron firmly against the parchment paper for 40 to 60 seconds, moving iron slowly and constantly across iron-on until it has adhered to the fabric.
9- For 15 to 20 seconds, press tip of iron around edges of the iron-on image to secure it.
10- Let cool for 5 seconds; peel away backing. If iron-on is not completely fastened, replace parchment paper and repeat steps 8 and 9 until properly set.
 11-  If you would like to make the image more vivid once the iron-on has set, cover it with parchment paper and iron for 3 to 5 seconds.

nawears

bs-Fabric Decals Lot 2

From $1.99

NA Iron On Fabric Decals Lot #2

These are all high quality clothing decals we have created for you to use on clothing that you prefer. Select the decal you want and the quantity. Individual decal description below.  Please Contact Us If Quantity Is Zero.

1- Clean Life Red: 10" x 4" 
2- Flying Red Shield: 9.5" x 10.5" -
3- AA Grateful Not Dead: 9"  x 10" - With 1 Small images
4-
5- Live Clean Or Die Skulls: 9" x  11" -
6- Live Clean Sugary: 10" x 3.5" -
7- More Will Be Revealed: 9" x 10" - With 1 Small images
8- Native Eagle Shield: 7" x 8.5"  - With 1 Small images
9- No Matter What Club "Gold": 9" x 10.5"  - With 1 Small images
10- Recovery Or Relapse Reaper: 9.5" x 11.5"
11- Sugar Skull 2020: 9.5" x 11" - With 1 Small images
12- Sugar Skull Inverted: 9.5" x 11" - With 1 Small images
13- Winged NA Symbol: 10" x 8" - With 1 Small images
14- NA Rocks: 9" x 9" - With 1 Small images
-
SMALLER IMAGE: The smaller images included with some decal measure roughly 3" x 3". They can be use on the side, back or front corner and put the bigger image on the front. The right placement will add style and variation to the shirt.


 Instructions For Dark Colored Decals:

1- Wash fabric before applying printable iron-on.
2- Peel off unwanted pieces from printed iron-on using the hook found in the Cricut Basic Tool Set.
3- Set iron heat between the COTTON and WOOL settings with steam setting OFF.
4- For 10 to 15 seconds, use the iron to pre-heat the fabric where you will be applying iron-on.
5- Peel backing from transfer tape (included) to expose adhesive. Gently smooth transfer tape onto printed image.
6- Use transfer tape to place an image on fabric. The iron-on material should be against the fabric and transfer tape should be on top.
7- Without removing transfer tape, cover with parchment paper (included).
8- Use both hands to press the iron firmly against the parchment paper for 40 to 60 seconds, moving iron slowly and constantly across iron-on until it has adhered to the fabric.
9- For 15 to 20 seconds, press tip of iron around edges of the iron-on image to secure it.
10- Let cool for 5 seconds; peel away backing. If iron-on is not completely fastened, replace parchment paper and repeat steps 8 and 9 until properly set.
 11-  If you would like to make the image more vivid once the iron-on has set, cover it with parchment paper and iron for 3 to 5 seconds.

Name

  • Clean Life Red
  • Flying Red Shield
  • AA Grateful Not Dead
  • Live Clean Or Die Skulls
  • Live Clean Sugary
  • More Will Be Revealed
  • Native Eagle Shield
  • No Matter What Gold
  • Recovery Or Relapse Reaper
  • Sugar Skull 2020
  • Sugar Skull Inverted
  • Winged NA Symbol
  • NA Rocks
View product